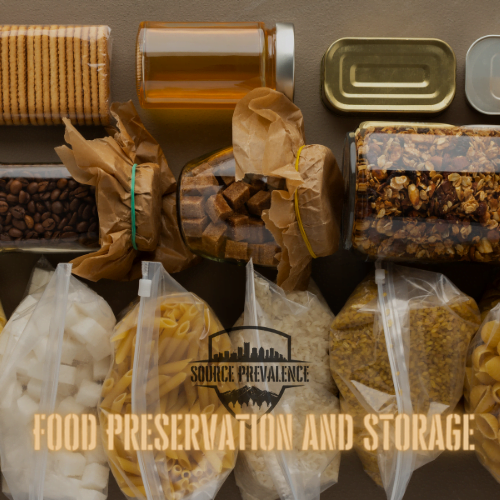
Let’s explore simple yet effective methods to keep your meals fresh longer. Whether you’re a seasoned homesteader, beginner in the kitchen, or just want to be prepared for emergencies. These techniques will help you make the most of your meals and reduce waste. By taking control of your food storage, you’ll be better prepared to handle whatever life throws your way.
Table of Contents
Understanding Food Spoilage
Before we delve into preservation methods, it’s important to understand why foods spoils. Food spoils due to various factors like exposure to air, moisture, light, and microorganisms such as bacteria and fungi. By controlling these factors, we can prolong the shelf life of our food.
Refrigeration Basics

Refrigeration is one of the easiest ways to extend the shelf life of perishable foods. Store dairy products, meats, fruits, and vegetables in the refrigerator at the appropriate temperature (usually between 35-40°F or 1.7-4.4°C) to slow down bacterial growth and maintain freshness. Freezing is also an excellent method for preserving a wide range of nutrients. Proper packaging is key to preventing freezer burn and maintaining quality. Use airtight containers, freezer bags, or vacuum sealers to minimize air exposure.
Canning for Long-Term Storage

Canning is a time-tested method for preserving foods like jams, pickles, sauces, soups, and much more. Invest in a water bath canner or pressure canner, depending on the acidity of the food being canned. Follow tested recipes and guidelines to ensure safety and prevent the growth of harmful bacteria like botulism.
Drying Foods

Drying, or dehydration, is an ancient preservation technique that removes moisture, inhibiting the growth of bacteria and mold. You can dry fruits, vegetables, herbs, and even meats using a food dehydrator, oven, or sunlight. Store dried rations in airtight containers in a cool, dark place for long-term storage.
Pickling and Fermentation

Pickling and fermentation are methods that rely on acidity and beneficial bacteria to preserve nutrition. Make your own pickles, sauerkraut, kimchi, or kombucha at home using simple ingredients like salt, water, vinegar, and spices. Fermented foods not only last longer but also promote gut health because of their probiotic content.
Vacuum Sealing

Vacuum sealing removes air from packaging, extending the shelf life and preventing freezer burn. Invest in a vacuum sealer and vacuum-seal individual portions or bulk quantities of foods like meat, cheese, and leftovers before freezing or refrigerating.
Planting your own source of nutrition
Growing your own vegetation is a great way to ensure you always have something to eat, no matter what happens. When grocery stores get chaotic or run out of supplies, you can have a peace of mind knowing that you have your own vegetation. Saving seeds from your crops ensures you can plant again and again without buying new seeds. Choose the best-looking plants, let them fully mature, and collect the seeds.
Simple Planting Tips
Soil: Make sure the soil is rich and drains well. Add compost to improve it.
Watering: Water deeply but not too often. Let the soil dry out a bit between watering.
Sunlight: Most plants need at least 6 hours of sun a day.
Pest Control: Use natural methods like planting flowers that repel pests, or using homemade sprays.
Best Crops for Survival
Here are some of the best crops to grow in a survival garden. They are easy to plant, grow well, and provide lots of nutrients.
1. Potatoes
Why: High in carbs and vitamins.
How: Plant pieces with eyes (sprouts) 3-4 inches deep and 12-15 inches apart in sunny, well-drained soil.
2. Corn
Why: Great source of carbs and fiber.
How: Plant seeds 1 inch deep and 4-6 inches apart in blocks for better pollination. Needs lots of sun.
3. Beans
Why: High in protein and fiber.
How: Plant in well-drained soil with full sun. Space seeds 1-2 inches apart.
4. Squash
Why: Rich in vitamins and antioxidants.
How: Plant in hills spaced 3-6 feet apart. Needs full sun and rich soil.
5. Tomatoes
Why: High in vitamins and antioxidants.
How: Start seeds indoors, then transplant outside 18-24 inches apart in sunny, well-drained soil. Use stakes or cages for support.
By investing time in prepping for emergencies today, you’re ensuring a more secure and resilient tomorrow for you and your loved ones!

